
Overview #
The SharePoint Report Provider can be used to store files and folders in SharePoint and to use these files for developing and executing report Distribution Jobs. The SharePoint Report Provider provides access to all SharePoint Sites and Teams Document storage that are available to the Microsoft 365 authenticated user. Reportworq uses the common Azure App Registration Configuration and the token acquired from authentication to access available SharePoint Sites and Teams File Document Storage. Once configured, SharePoint documents are accessible through the Report Selection dialog when you configure a Distribution Job. Please note that document visibility is based on the App Registration’s authenticated user and access permissions will need to be set appropriately.
Configuration #
Reportworq Administrators can set up a Report Provider that connects to SharePoint Document Storage.
Before you begin, create an Azure App Registration that shares the same Tenant as the SharePoint instance. Make note of the Tenant Id, Client Id, and the authentication Secret. You will require this information when configuring a SharePoint Report Provider.
By default, when a Reportworq user adds SharePoint documents to a Job through the Report Selection dialog, they see a list of SharePoint sites that may include some sites that are not available to them. When you configure the SharePoint Report Provider, you can specify which sites to make visible to Reportworq users by selecting sites from a checklist. The checklist shows only sites within the current geo location, as defined by Multi-Geo Capability settings in the SharePoint admin center. If you want to include sites that are in a different geo location, you can manually enter URLs for them.
To add and configure a SharePoint Report Provider:
- In the Reportworq Administration interface, select the add icon
 beside the Report Providers heading.
The New Report Provider pane appears: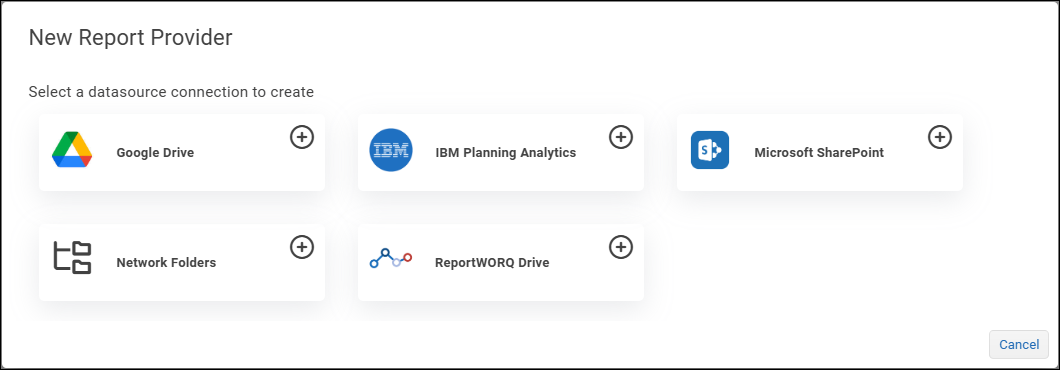
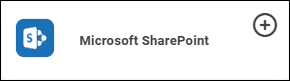
- Select the Microsoft SharePoint button.
The Report Provider configuration interface appears:
- In the Report Provider Settings area, provide a Report Provider Name.
This name is visible to Reportworq users when they select source reports for Distribution Jobs. The name of each Report Provider must be unique. - If you want to specify which SharePoint sites are visible to Reportworq users, do the following:
- In the SharePoint Site Access Settings area, select Manually select visible SharePoint Sites.
The Visible Sites box appears, and lists all sites that Reportworq can access in the current geo location.
Tip: You can refresh the list at any time.
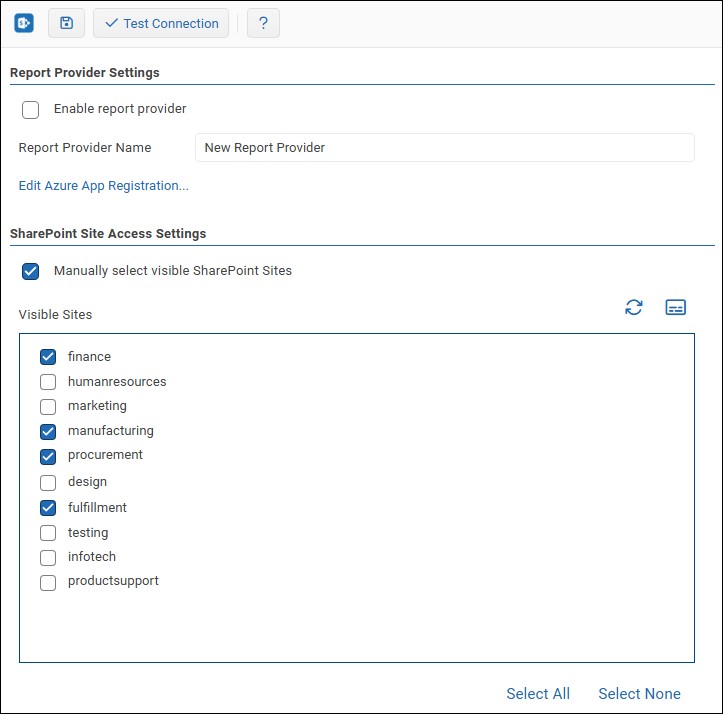
- In the checklist, select the sites you want Reportworq users to access.
- If your organization is multi-regional and you want to allow Reportworq users to access sites in other geo locations, do the following:
- Select the
 icon above the top right corner of the Visible Sites box.
A text list of the selected SharePoint site URLs appears.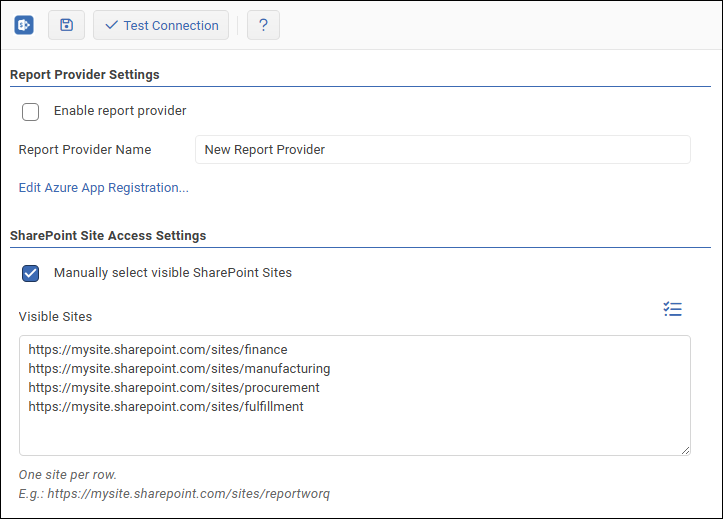
- Add a URL for each SharePoint site you want Reportworq users to access. Each site URL must be on a separate line, as shown above.
- When the list is complete, select the
 icon above the top right corner of the Visible Sites box to return to the checklist view.
- Select the
- In the SharePoint Site Access Settings area, select Manually select visible SharePoint Sites.
- Select the Save icon.

- In the Report Provider Settings area, select the Edit Azure App Registration link.
The Azure App Registration interface appears.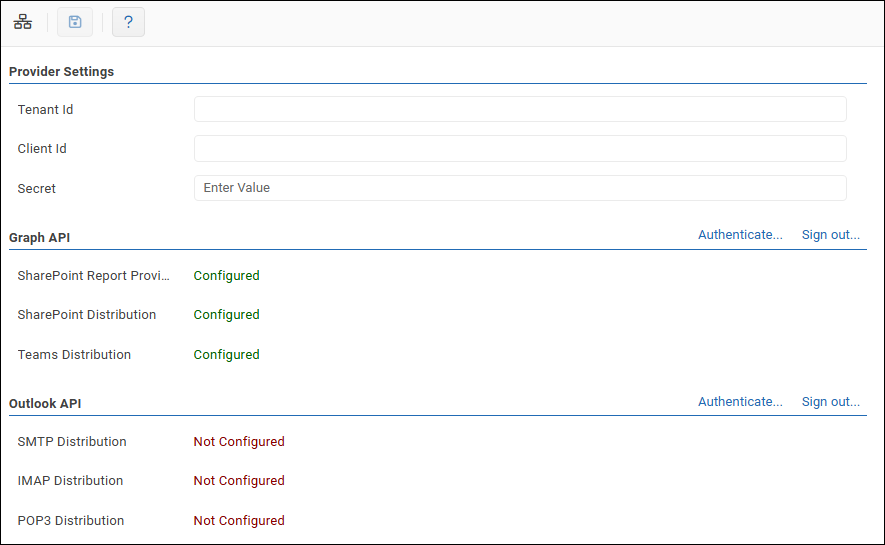
- In the Provider Settings area, enter the Tenant Id, Client Id, and authentication Secret, which you noted when you created the Azure App Registration.
- At the top of the Graph API area, select Authenticate.
- After authentication, confirm that the SharePoint Report Provider item under the Graph API section shows as Configured.
- At the top of the Azure App Registration interface, select the Save icon.
- In the list on the left side of the browser window, select your SharePoint Report Provider to return to the Report Provider configuration interface.
- To confirm that the Report Provider settings are properly configured, select Test Connection.

If the test fails, edit the settings as required, and then test again. - In the Report Provider Settings area, select the Enable report provider checkbox.
- Select the Save icon to save and apply the settings.
Using SharePoint Document Storage #
To access existing files or to add new files to SharePoint storage, navigate to the Edit Jobs screen and select ‘Add a Report’ and then expand the SharePoint item. Typically, several sites will be available for file management. To upload files, click the ‘Upload Files…’ button on a site or folder name. From this screen, users can upload, rename, or delete SharePoint files. Please note that this feature allows a user to directly modify existing files and folders in SharePoint. A rename or delete will modify the existing item in SharePoint for all users.