
Overview
The Load Balancer allows Reportworq to distribute the workload of running jobs across multiple servers. The number of jobs that can run concurrently is configured independently for each Reportworq instance. To install a load balancer server, this feature must first be enabled for the customer license and is currently only available for enterprise-tier licenses. Please contact support@reportworq.com to request that the Load Balancer feature be enabled for your license.
Prerequisites
The Load Balancer feature has a few requirements that should be configured before installing the first Load Balancer Server.
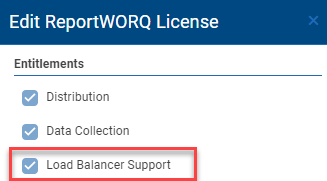
- Check the License screen by selecting the license status link in the bottom right corner of the footer and verify that the Load Balancer feature is enabled for the license.
- The Reportworq Repository folder must be available as a network share to each of the Load Balancer servers.
- It is recommended that this folder resides locally on the main web application server for better performance.
- The Reportworq Source Report Providers must be accessible to all Load Balancer Servers.
- Any Network Folder Source Report Provider should be configured with a UNC Path, accessible to the other servers.
- The Load Balancer servers will communicate with the main web application server over two separate ports.
- The Main Reportworq Web Server Port (port 8300 by default).
- The Real-time Event Hub Port which is the above port number + 1 (8301 by default).
- These ports must be opened on the firewalls of both the main web application server and on all load balancers, to allow inbound and outbound data.
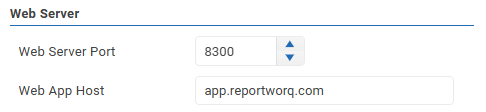
- The Web App Host setting must be supplied in the main web application’s Administration > Configuration view, before starting any of the Load Balancer servers.
- This setting should specify the machine name, IP address or DNS name used to access the main web application from a remote machine.
Installation
Load Balancer Servers installation steps:
- Install Reportworq normally.
- Stop the Windows Service named “Reportworq Bootstrapper Service”.
- Configure the Windows Service “Log On As” with an account that has access to the network repository folder and any source report network folders.
- Details on this step can be found here.
- To instruct Reportworq a special file will need to be created in the Installation root directory adjacent to the settings.json file to start in load balancer mode. This file will be imported by Reportworq and deleted after the service is started.
- Create a text file adjacent to the settings file called “loadbalancer.txt”.
- Enter the UNC path to the Reportworq server’s Repository folder as the one and only line in this file.
- If the file does not get deleted, check the Reportworq logs for error information. The most common error is the Windows Service Log On As account does not have access the UNC path.
- Start the Windows Service.
- No additional configuration is required. This server will be immediately available for executing jobs.
Configuration
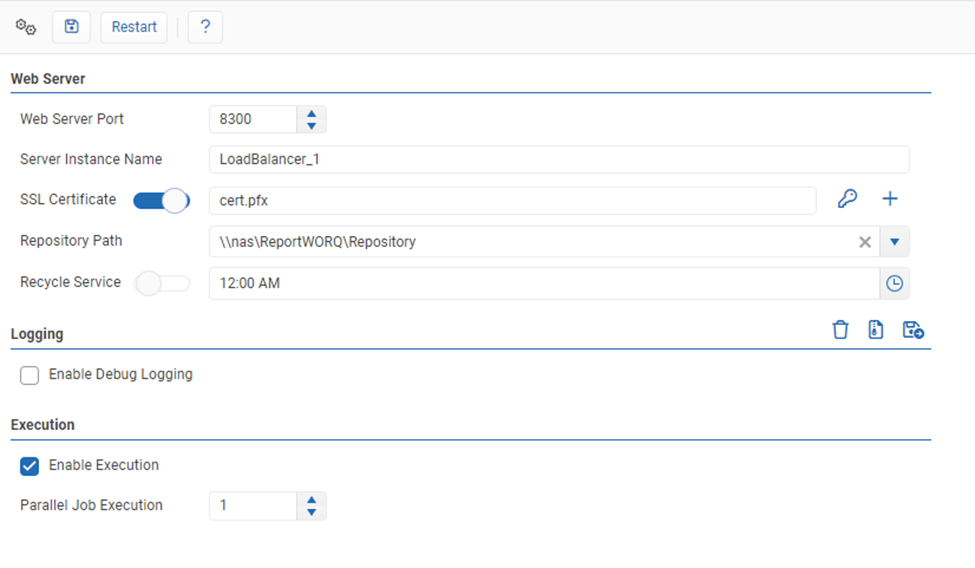
- Access the Load Balancer server locally in a browser at http://localhost:8300 (by default).
- The Server Instance Name will display a default name but can be updated to better identify this server. This will be displayed in the running jobs screen and in the main web application Load Balancer Monitor page, found on the Administration screen.
- Execution:
- The Enable Execution setting can be disabled to temporarily instruct a load balancer server to stop accepting jobs.
- The Parallel Job Execution setting controls the number of concurrent jobs that the server will accept.
- Note that the main web application will also process jobs by default. To adjust the Parallel Execution Limits of the main web application, navigate to the main web application’s Configuration page on the Administration screen. Setting this value to 0 will instruct Reportworq to only use external Load Balancer servers for job execution.
- More details for the configuration screen can be found in the Configuration article.
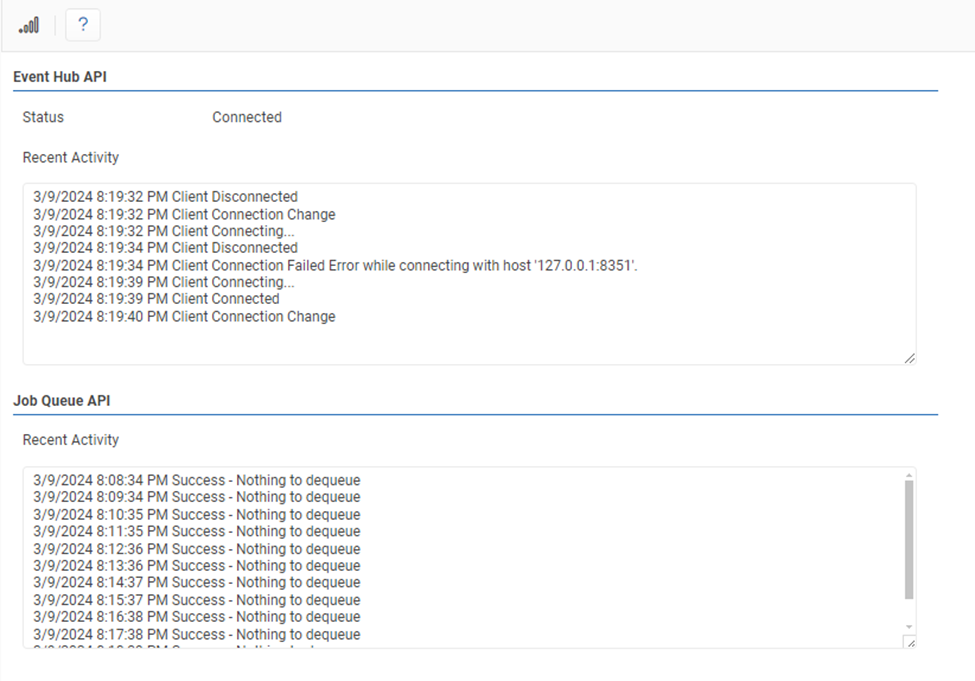
Load Balancer Server Host Status
This page is used to observe connectivity and connection changes between the Load Balancer server and the main web application server.
Load Balancer Monitor
The Load Balancer Servers will self-register and appear automatically on this page, found in the main web application administration screen, if they are configured properly.

- Enabled will toggle whether or not a Load Balancer Server can accept jobs.
- Max Jobs is the maximum number of jobs that the Load Balancer can execute simultaneously.
- Note that the web application also processes jobs and this setting can be modified on the Configuration page of the Administration screen. If set to 0 then only load balancers will accept jobs.
- Status will indicate if a Load Balancer server successfully attempted to dequeue a job from the web application within the last two minutes.
- Version indicates the Reportworq version that is running on the server. It is recommended that all servers always run the same version.
- Last Restart indicates the last time Reportworq was restarted.
- Rename the Load Balancer server allows a user to give the server a different name.
- Remotely restart the Load Balancer Process will restart the process.
- This is a request to the Load Balancer Server. It is recommended to wait a minute or two to see if the last restart updates.
- Delete a Server will remove the entry for this server. It will reappear automatically if the instance is still running. This option is useful for clearing out old instances.
- Filter can enable a Job or Workspace filter for each Load Balancer server. If disabled, the Load Balancer will run every Job possible. If enabled the Load Balancer will only run Jobs that meet the Filter criteria. Workspaces can either be allowed (jobs can run from that workspace) or disallowed. Jobs can be either allowed, disallowed, or inherited from workspaces.