
Welcome#
Welcome to Reportworq Basic Training!
This series of articles contains training videos that will introduce you to Reportworq concepts and features. Each article in the series builds upon the previous ones, so we recommend consuming them in the order presented.
This article is Basic Training 1: Installation and Configuration. It consists of the training video below, followed by a written version of the same information.
Basic Training 1: Installation and Configuration#
In this first article, we will cover all the steps required to get Reportworq up and running. You'll begin by downloading and installing Reportworq and entering your license key, and then we'll guide you through the basic configuration steps such as adding users to Reportworq, configuring a source Report Provider, a Datasource, and Distribution information.
Before we get started, here are some resources that are very important:
- Online Documentation, located at https://docs.reportworq.com. This site contains the Reportworq User Guide, Administration Guide, Release Notes, and Technical Articles. It also includes links for downloading the Reportworq installer.
- Reportworq User Forum, located at https://forum.reportworq.com. By creating an account on this website, you'll be notified by email each time a new Reportworq release is available. The Forum also has a Knowledge Base, which has some tips and tricks which may be useful.
- Reportworq Support, available by email at support@reportworq.com.
Installing Reportworq#
Let's begin by downloading the Reportworq installer. Downloads are available from the Installation article, or from the Release Notes. For Basic Training purposes, please download the latest Official Release.
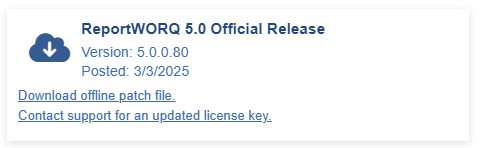
After download is complete, launch the Windows installer (Reportworq_Installer.exe),
and navigate through the steps to install Reportworq.
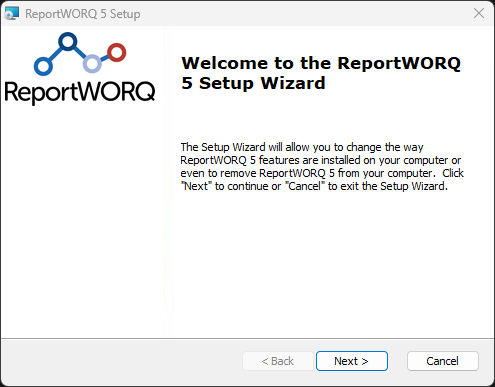
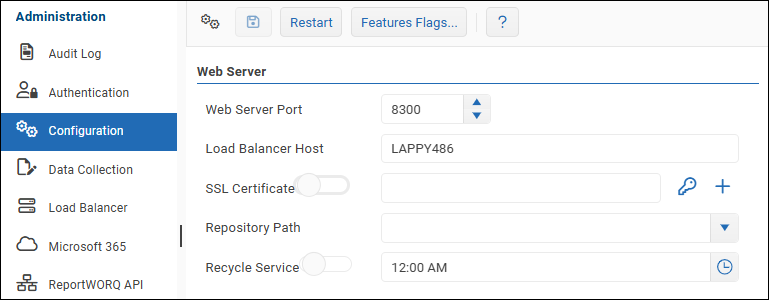
The installer will create and start a Windows service that runs the Reportworq web server. By default, the web server runs on Port 8300. After installation is complete, you can access Reportworq from the server where it is running by navigating to localhost:8300.
When you first open Reportworq, the Configuration Wizard appears.
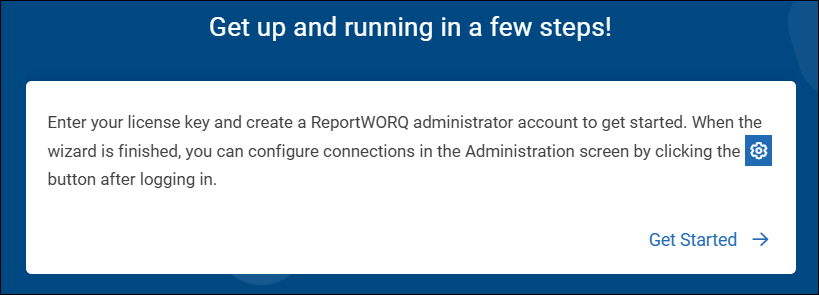
After you select Get Started, you can either enter your license key right away or skip this step and enter it later.
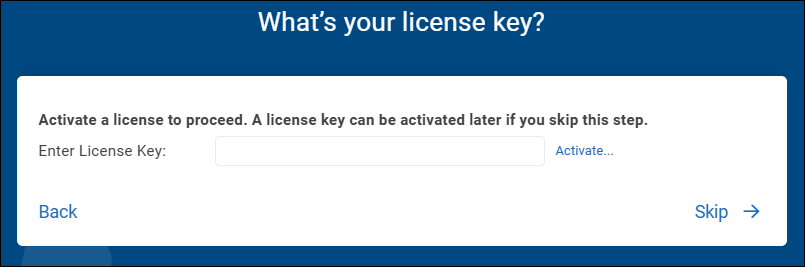
Later in this article we'll also show how to enter the license key after logging into Reportworq.
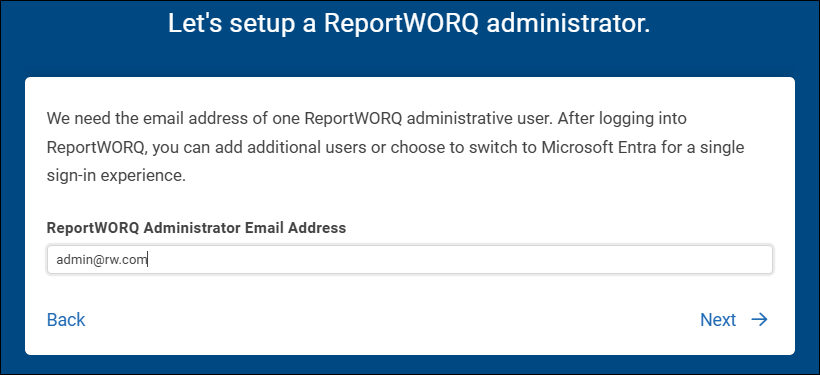
Enter the email address of the first Reportworq user, and then select Next.
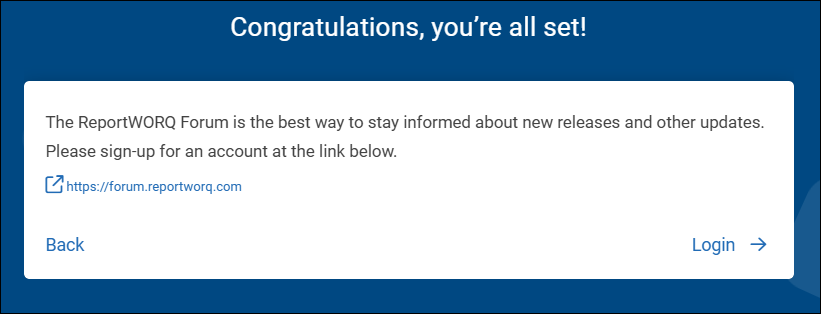
A Congratulations message appears.
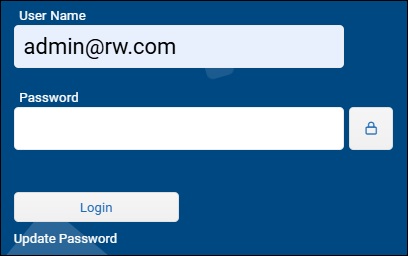
You're now ready to log in to Reportworq with your first user account. As a new user, leave the Password blank and select Login.
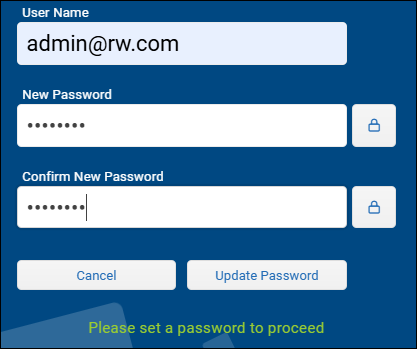
You are then prompted to set a new password and select Update Password.
After the password update, you can log in.
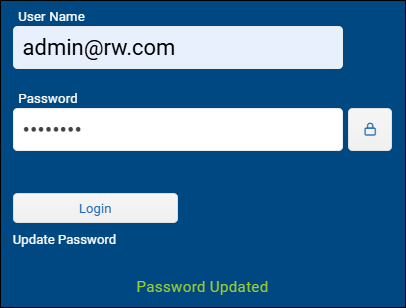
Once you're logged in, you can enter your license key. Select the licensing message in the bottom right corner to access the license information.

Enter the license key and then select Activate to activate with the license server.
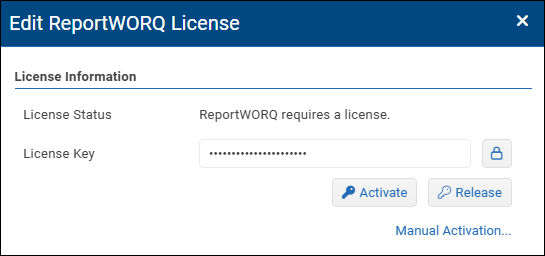
When you close the licensing pane, you can see that the license message has updated to reflect your subscription.

If the Reportworq server is unable to contact the licensing server for activation, a manual activation may be required. Select the Manual Activation button and follow the on-screen steps.
Configuring Reportworq#
We'll now open the Administration interface to do some basic configuration. You can get there by selecting the cog wheels icon  in the top right corner of Reportworq.
On the Configuration tab, you can see that Reportworq can be configured to run using either SSL or HTTPS:
- SSL -- Your IT Administrator can place a certificate file on the server and provide that file location and password here.
- HTTPS -- Running as HTTPS is optional, but certain Microsoft 365 integrations such as Microsoft Entra logon, SharePoint, or Office365 email require it.
On the Authentication tab, you can add new users to Reportworq.
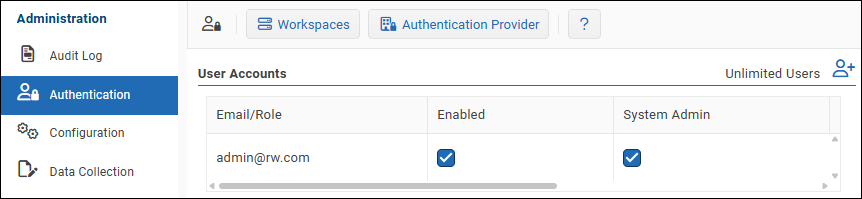
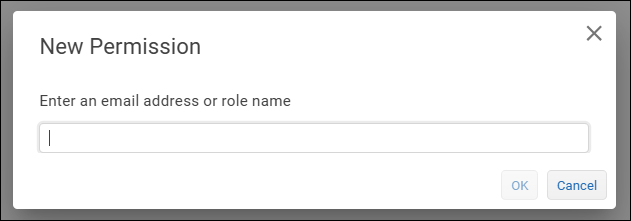
Simply select the Create a New Account icon  , and then enter the user's email address.
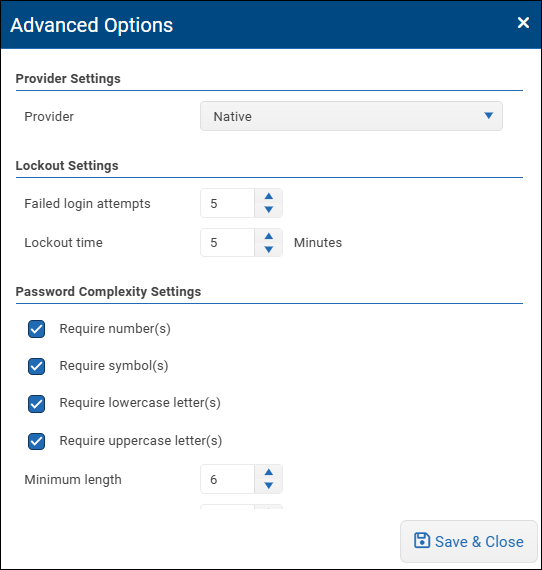
If Reportworq is using Native security, as it does by default, new users will log in the same way you did earlier -- by using a blank password and then updating it with a new password upon first login. By selecting the Authentication Provider button on the toolbar, you can access the Advanced Options, where you can switch Reportworq from Native security to using a single sign-on provider such as Microsoft Entra. You can also specify the password complexity requirements.
Adding a Report Provider, Datasources, and a Distributor#
Let's begin by adding a source Report Provider.
Add a Report Provider
A Report Provider is a place to store the source Excel files that Reportworq uses as report templates. The most common option is to store files in a Network Folder. However, files can also be stored in cloud-based online content management systems such as Google Drive, Microsoft SharePoint, or an FTP site.
In Administration, select the plus sign beside the Report Providers heading.
We'll select Network Folders for our example.
Begin by setting up a source Report Provider using a Network Folder. Reportworq Administrators will be able to open and edit these files locally on their workstations, and Reportworq will be able to access the same files from the server.
Set the Report Provider Name, specify the Network Folder path, and select Enable report provider.
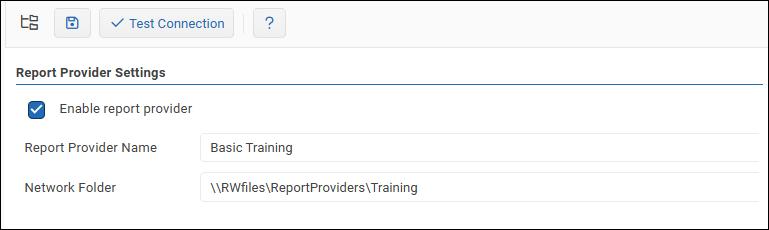
Select the Test Connection button to confirm that Reportworq can access the folder.
Tip: When using a Network Folder, you may need to modify the Reportworq Windows Service to run using a Service account that has access to the network.
After a successful test, select the Save icon  .
.
Next, let's connect to data.
Add Datasources
The next step is to set up connections to data sources required to refresh the data in your reports.
In Administration, select the plus sign beside the Datasources heading.
As you can see below, Reportworq can connect to many different data sources.
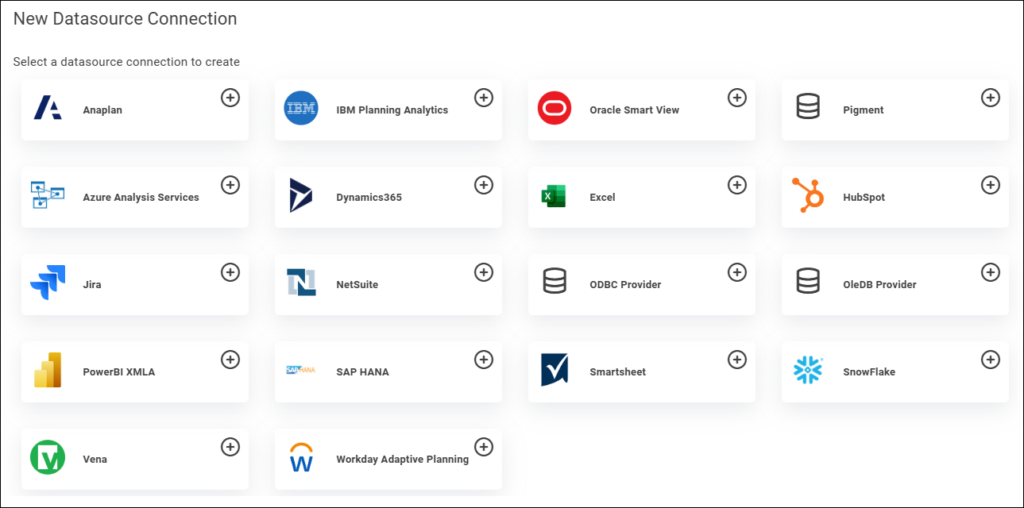
Each datasource connection has its own connection requirements, which you can learn more about in this article.
Our Basic Training will use an Excel file that contains sample data on one worksheet and our report template on another. In an upcoming training module, we will place this spreadsheet in our Report Provider.
Configure Distribution
Finally, you'll need to configure integrations that we want to use for distribution.
In Administration, select the plus sign beside the Distributors heading.
Reportworq can distribute reports through email, Google Drive, as well as many other mechanisms.
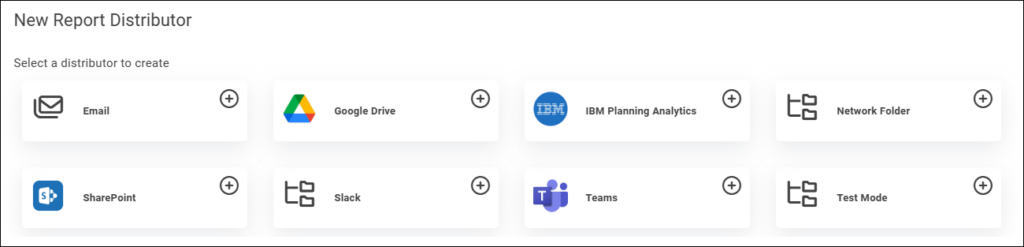
For our Basic Training exercises, we'll distribute reports through a Network Folder as well as by Email.
For the Network Folder distributor, set the Test Folder path and then select Enable distributor.
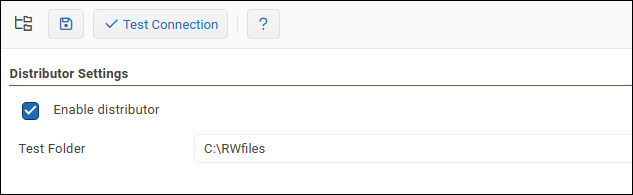
Select the Test Connection button confirm that Reportworq is able to access the folder.
Tip: When using a Network Folder, you may need to modify the Reportworq Windows Service to run using a Service account that has access to the network.
After a successful test, select the Save icon .
For the Email distributor, in our example we'll use a local SMTP server for email. Set the server name, port number, and the address from which Reportworq will send emails. Save your settings and test your connections before proceeding.
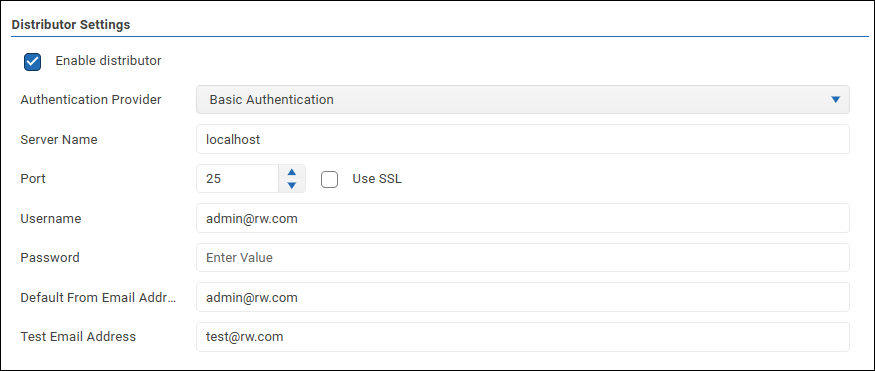
We've now covered the minimum configuration to get Reportworq up and running.
Recap for IT Administrators#
Let's review some important points your IT administrator may need to consider:
- Reportworq runs on Port 8300. A firewall rule change may be required to allow users to access Reportworq from their workstations.
- An SSL certificate and an Azure App Registration will be required if certain Microsoft 365 integrations are to be used, such as SharePoint, Microsoft Entra logon, or Office365 email.
- If a network folder is to be used for source files or distribution, then the Reportworq Windows Service will need to run under a service account with access to those network folders.
- Reportworq can be configured to use your company's enterprise authentication if that provider is OIDC compliant.
Feedback on this page
Comments, questions, requests, or something missing or unclear? Email us - the page you are on is filled in for you.
Email feedback on this pageOr write to support@reportworq.com directly.