
Lab 1: Install Reportworq on Windows#
What you are doing. Taking a Windows server from nothing to a running Reportworq 6 installation, and setting the one thing that is far easier to get right now than to discover later: the Windows account the service runs as.
What this shows you. How Reportworq is delivered and what it actually installs. Reportworq is one service that hosts both the web application and the job runtime, so there is no separate scheduler, no separate engine, and nothing to install on anyone's desktop. By the end of this lab the server is ready for the first-run wizard in Lab 2.
How long. About 20 minutes, most of it the file copy.
What you need. A Windows server you have administrator rights on, and a valid Reportworq 6 license key. The key is not optional here: it unlocks the download itself, not just the software.
Before you start#
Check the server against these before you download anything. Getting an install most of the way through and then finding the box is too small is a slow way to learn it.
| Check | What it needs |
|---|---|
| Operating system | Windows Server 2016 or later. Earlier versions are not supported. |
| CPU | 4-core, 2 GHz or faster, x64 |
| RAM | 32 GB minimum. Allow about 2 GB per concurrent job on top of that. |
| Disk | 10 GB free, and it grows with run history and logs |
| Browser | A Chromium browser, Chrome or Edge, with a window at least 1280 x 720 |
| Firewall | TCP 8600 and 8601 open on the server |
| Internet | Outbound access for license activation, updates, hosted AI, and CloudHub |
Three of those are worth a sentence of their own, because they are where installs go wrong:
- Both ports, not one. 8600 is the web server you and your users connect to. 8601 is the Real-time Event Hub, which is always the web port plus one. Local access on the server works the moment the service starts, but remote access stays blocked until somebody adds an inbound-allow firewall rule for the web port. Open only 8600 in a multi-server setup and it will appear to work while its real-time coordination fails quietly.
- 8600 is the Windows default. If you install on Linux or in a container instead, the defaults are 8080 for the web server and 8081 for the Event Hub. It is the same product, so do not carry the Windows numbers across.
- No outbound access at all? Then plan for the offline activation path before you start, see Install Reportworq.
The browser window figure is the size of the window, not the monitor. Display scaling makes the difference larger than people expect: a 1920 x 1080 screen at 150% scaling gives the browser 1280 pixels of width. See System requirements for the full list.
Part A: Get the installer#
1. Go to the documentation site and start the download#
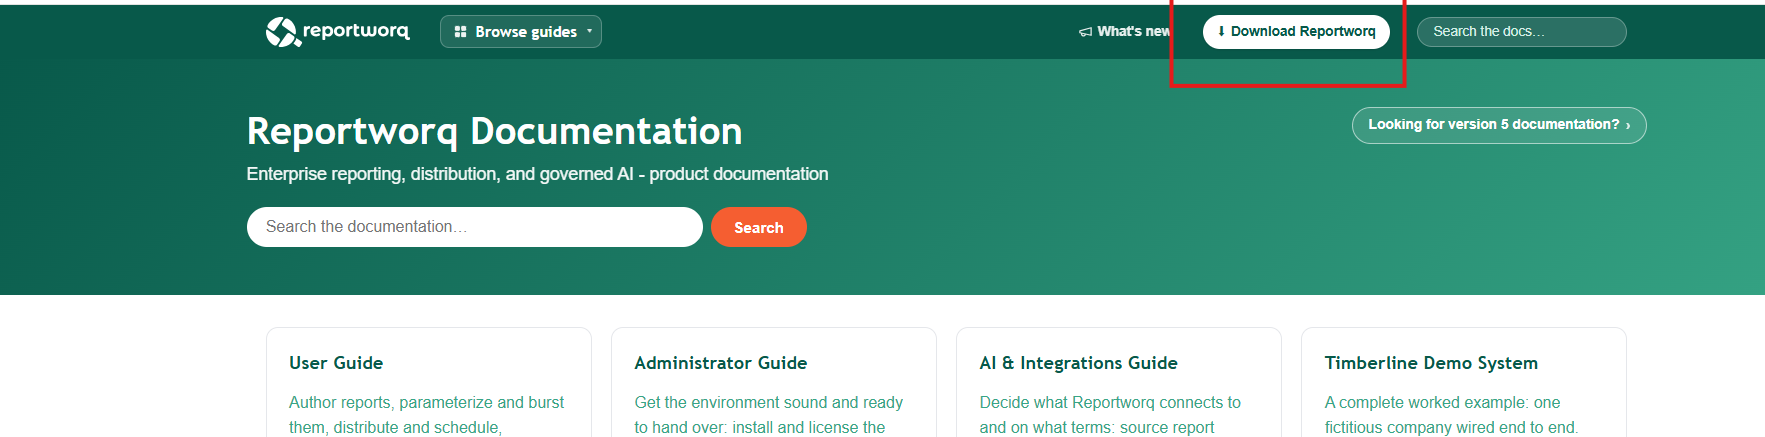
Go to docs.reportworq.com and select Download Reportworq in the site header.
2. Enter your license key#
Downloads are for licensed customers only, so the page asks for your Reportworq 6 license key before it shows you anything. Enter it and select Submit.
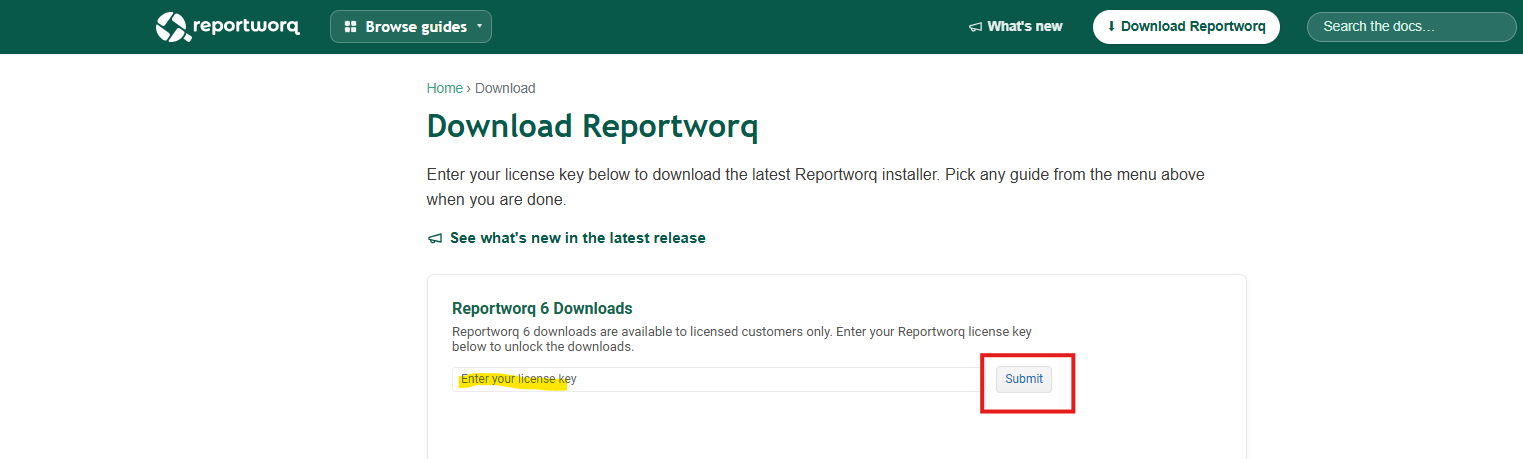
This is the same key you will activate the product with in Lab 2, so keep it to hand rather than closing the message it arrived in.
3. Choose the release and the artifact#
The page now lists two releases and four files under each.
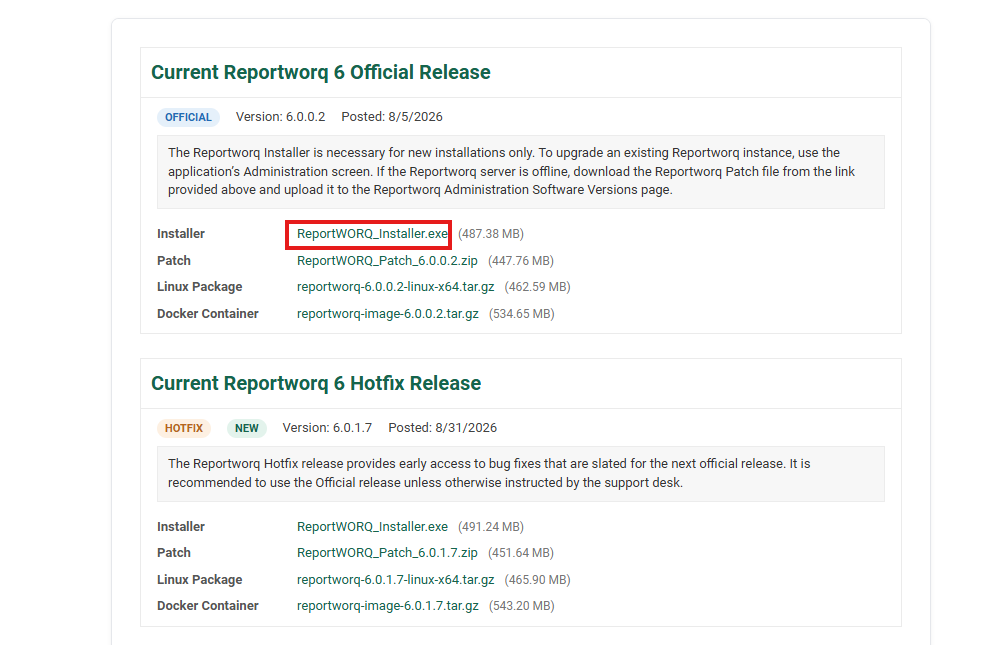
Take the Installer from the Current Reportworq 6 Official Release panel. For this lab that is the Windows installer, Reportworq_Installer.exe. Downloads of 6.0.1.8 and earlier carry the older spelling ReportWORQ_Installer.exe, as the picture above shows; it is the same file.
The other three rows matter later, so it is worth knowing what they are now:
| File | When you use it |
|---|---|
| Installer | A new Windows installation. This lab. |
| Patch | Upgrading a Windows server that is already running Reportworq. You normally apply this from inside the product instead, under Settings > Update Reportworq, and only download it by hand when the server has no outbound access. |
| Linux Package | Installing on Linux, from a tarball rather than an installer. |
| Docker Container | Running as a container, on Docker or Azure App Service. |
Take the Official release rather than the Hotfix unless the support desk has told you otherwise. The hotfix panel carries fixes that are scheduled for the next official release, which is useful when you are waiting on one of them and unnecessary when you are not.
4. Find the download#
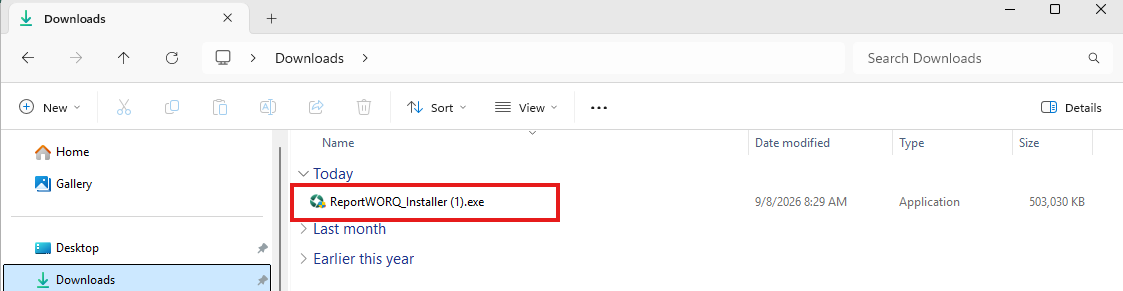
Open your Downloads folder in Windows Explorer.
Part B: Install Reportworq#
5. Run the installer#
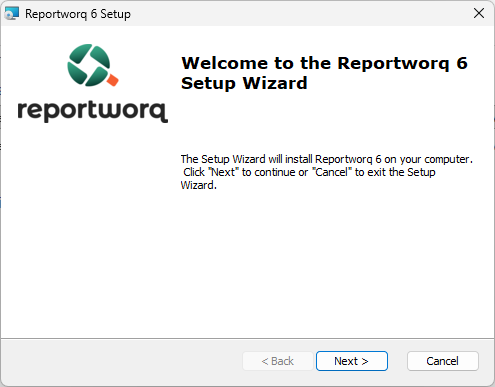
Double-click the installer to kick it off, then select Next.
6. Accept the license agreement#
Select I accept the terms in the license agreement, then Next.
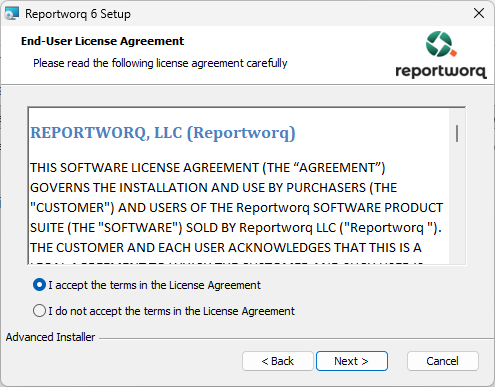
Acceptance is mandatory. The wizard will not move on without it.
7. Keep the default installation directory#
Select Next on the installation directory page. The default path is the one shown.
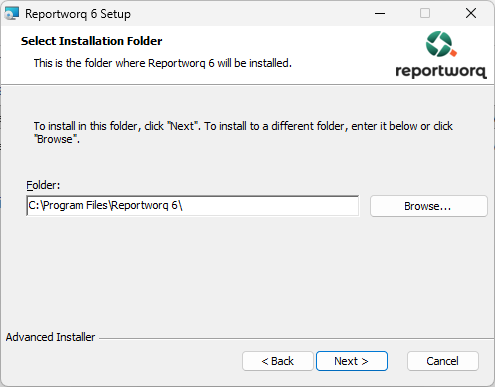
That default is doing real work. Reportworq 6 installs into its own folder, registers its own service, and listens on its own port, which is what lets it run side by side with an existing Reportworq 5 on the same machine. That is the whole basis of a staged migration: stand version 6 up next to a running version 5, move content across, validate it, and decommission the old one only when you are satisfied. Change the path if your organization requires it, but change it knowing that is what you are stepping around.
8. Install#
Select Install to begin.
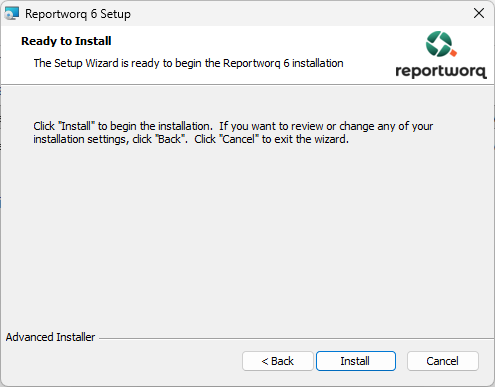
This is the slow step. Nothing is asked of you until it finishes.
9. Finish#
Select Finish when the installer is done.
Part C: Confirm the service, and set the account it runs as#
10. Find the service#
On the server, open Services from the Start menu, or run services.msc. Look for Reportworq 6 Bootstrap Service. It should be Running, with a startup type of Automatic, logging on as Local System.
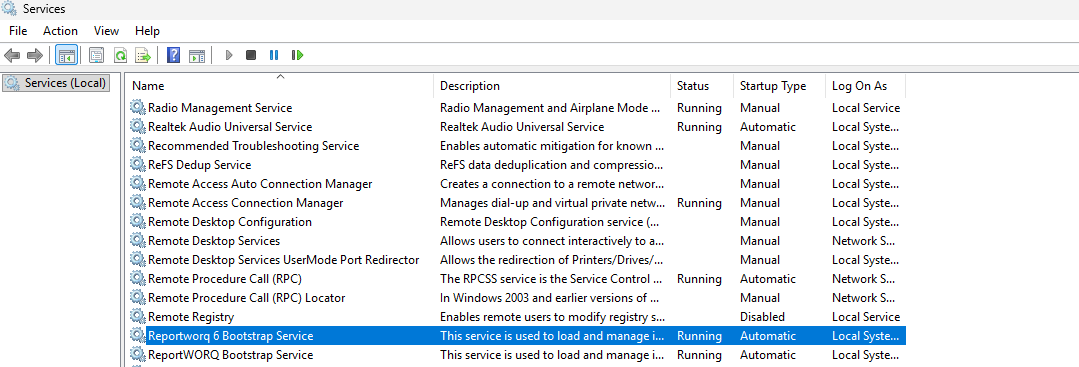
This single service is the whole product: it hosts the web application and it runs the jobs.
Look at the row directly below it in the picture. That machine also runs the Reportworq 5 service, untouched and still running. That is the side-by-side install from step 7, as it appears in practice. If this is a clean server you will see only the version 6 row.
11. Decide whether Local System is enough#
Local System cannot reach network resources. It is a local identity, so as far as any file server is concerned it is nobody.
That matters because the service account is the identity every job runs under. When a job reads a source workbook or writes output, Windows checks the service account, not you. So:
- If every source file and every output destination is on this server, Local System is fine and you can skip to step 13.
- If any report source, output destination, or the Repository lives on a network share or a UNC path, change the service to run as a domain account now.
Most real installations need the domain account, so a service account created for the purpose is what we normally suggest. Set it up before you build jobs, not after one fails.
12. Change the service account#
- Stop the Reportworq 6 Bootstrap Service.
- Right-click it, select Properties, and open the Log On tab.
- Select This account, then enter the service account and its password.
- Select Apply.
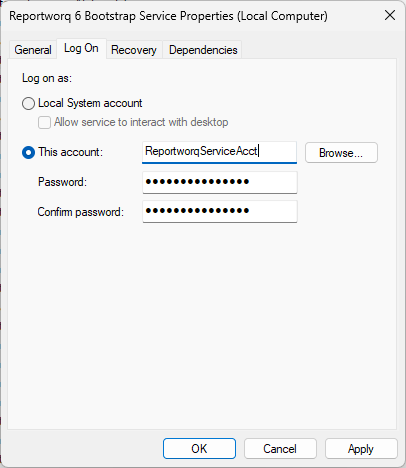
Windows grants that account the "Log on as a service" right for you. You still have to grant it, at minimum:
- read and write to the install folder,
- read and write to the Repository folder, if you move it outside the install root,
- read and write to every network output destination,
- read to every network location the report source files come from.
13. Start the service#
Right-click Reportworq 6 Bootstrap Service and select Start. The new identity takes effect when the service starts.
14. Check it answers#
On the server, browse to https://localhost:8600. What loads is the first-run setup wizard.
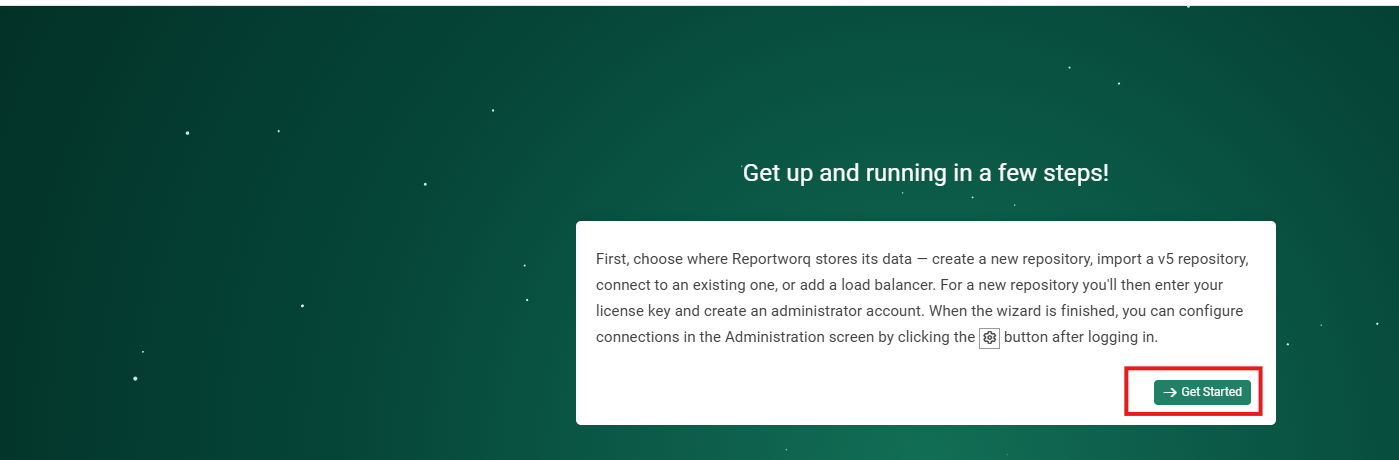
Note the https. On a fresh Windows install, Reportworq turns HTTPS on by itself at first boot: it generates a self-signed certificate and trusts it on the server, so the first page you ever load is already encrypted. People expect http here, get a browser warning or a dead page, and conclude the install failed. It did not.
Two things follow from that certificate:
- Remote browsers will not trust it until somebody distributes the trusted-root certificate to them. On the server itself it is already trusted.
- Replace it for production with a certificate from a certificate authority you trust.
This automatic step is Windows-only and happens only on a genuinely new install. Linux and container hosts serve HTTP until you configure a certificate or terminate TLS at a reverse proxy, and HTTPS is mandatory for the Excel add-in and every Microsoft 365 feature, so it is not optional there in practice.
What loads is the first-run setup wizard. That is Lab 2.
Why the service account matters more than anything else here#
Of everything in this lab, the step people regret skipping is step 12.
The failure it causes does not look like a permissions problem. It looks like Reportworq is broken. You can browse to a network folder in Explorer, you can open the source workbook yourself, and the job still fails to read or write it. The reason is that the job never ran as you. It ran as the service account, and a path you can see is irrelevant if the service account cannot reach it.
It is also the most tedious thing to change later, because by then you have jobs, destinations, and schedules pointing at shares that quietly stop working the moment the identity changes. Ten minutes now.
Try this#
Before you move on, prove the two facts this lab rests on:
- Prove both ports are listening. In PowerShell on the server, run
Get-NetTCPConnection -LocalPort 8600,8601 -State Listen. You should get a row for each. Do not test the Event Hub by browsing to it; it is not a web page. What you are proving is that the pair is live, which is what a remote client needs and what a single firewall rule for 8600 alone would not give you. - Prove the identity. In the Services console, look at the Log On As column for the Reportworq 6 row. Whatever is in that column is the account every job you build from here on will run as. If it still says Local System and your files are on a share, go back to step 12.
Notes and limits#
- This lab is Windows. Linux installs from a tarball with an
install.shthat creates a service user and a systemd unit, and containers are configured entirely from environment variables. There is no installer UI and no Windows service in either case, and the default web port is 8080. Linux is at feature parity with Windows, so this is a difference in delivery, not in capability. See Install Reportworq and Deploy on an Azure Linux VM. - The hardware figures are requirements, not enforcement. Reportworq will start on a smaller box and then struggle under real jobs.
- Do not uninstall without releasing the license first, or the seat stays consumed. The release control is on the License screen.
Going deeper. For every install option this lab walked past, including unattended installs, the uninstall path and air-gapped activation, see Install Reportworq. For the full requirements list, see System requirements.
Next#
Lab 2: First-run setup and licensing. The wizard now waiting at https://localhost:8600 creates the Repository, loads the Timberline demo content this course builds on, and applies your license key.
Feedback on this page
Comments, questions, requests, or something missing or unclear? Email us - the page you are on is filled in for you.
Email feedback on this pageOr write to support@reportworq.com directly.