
Secured lists#
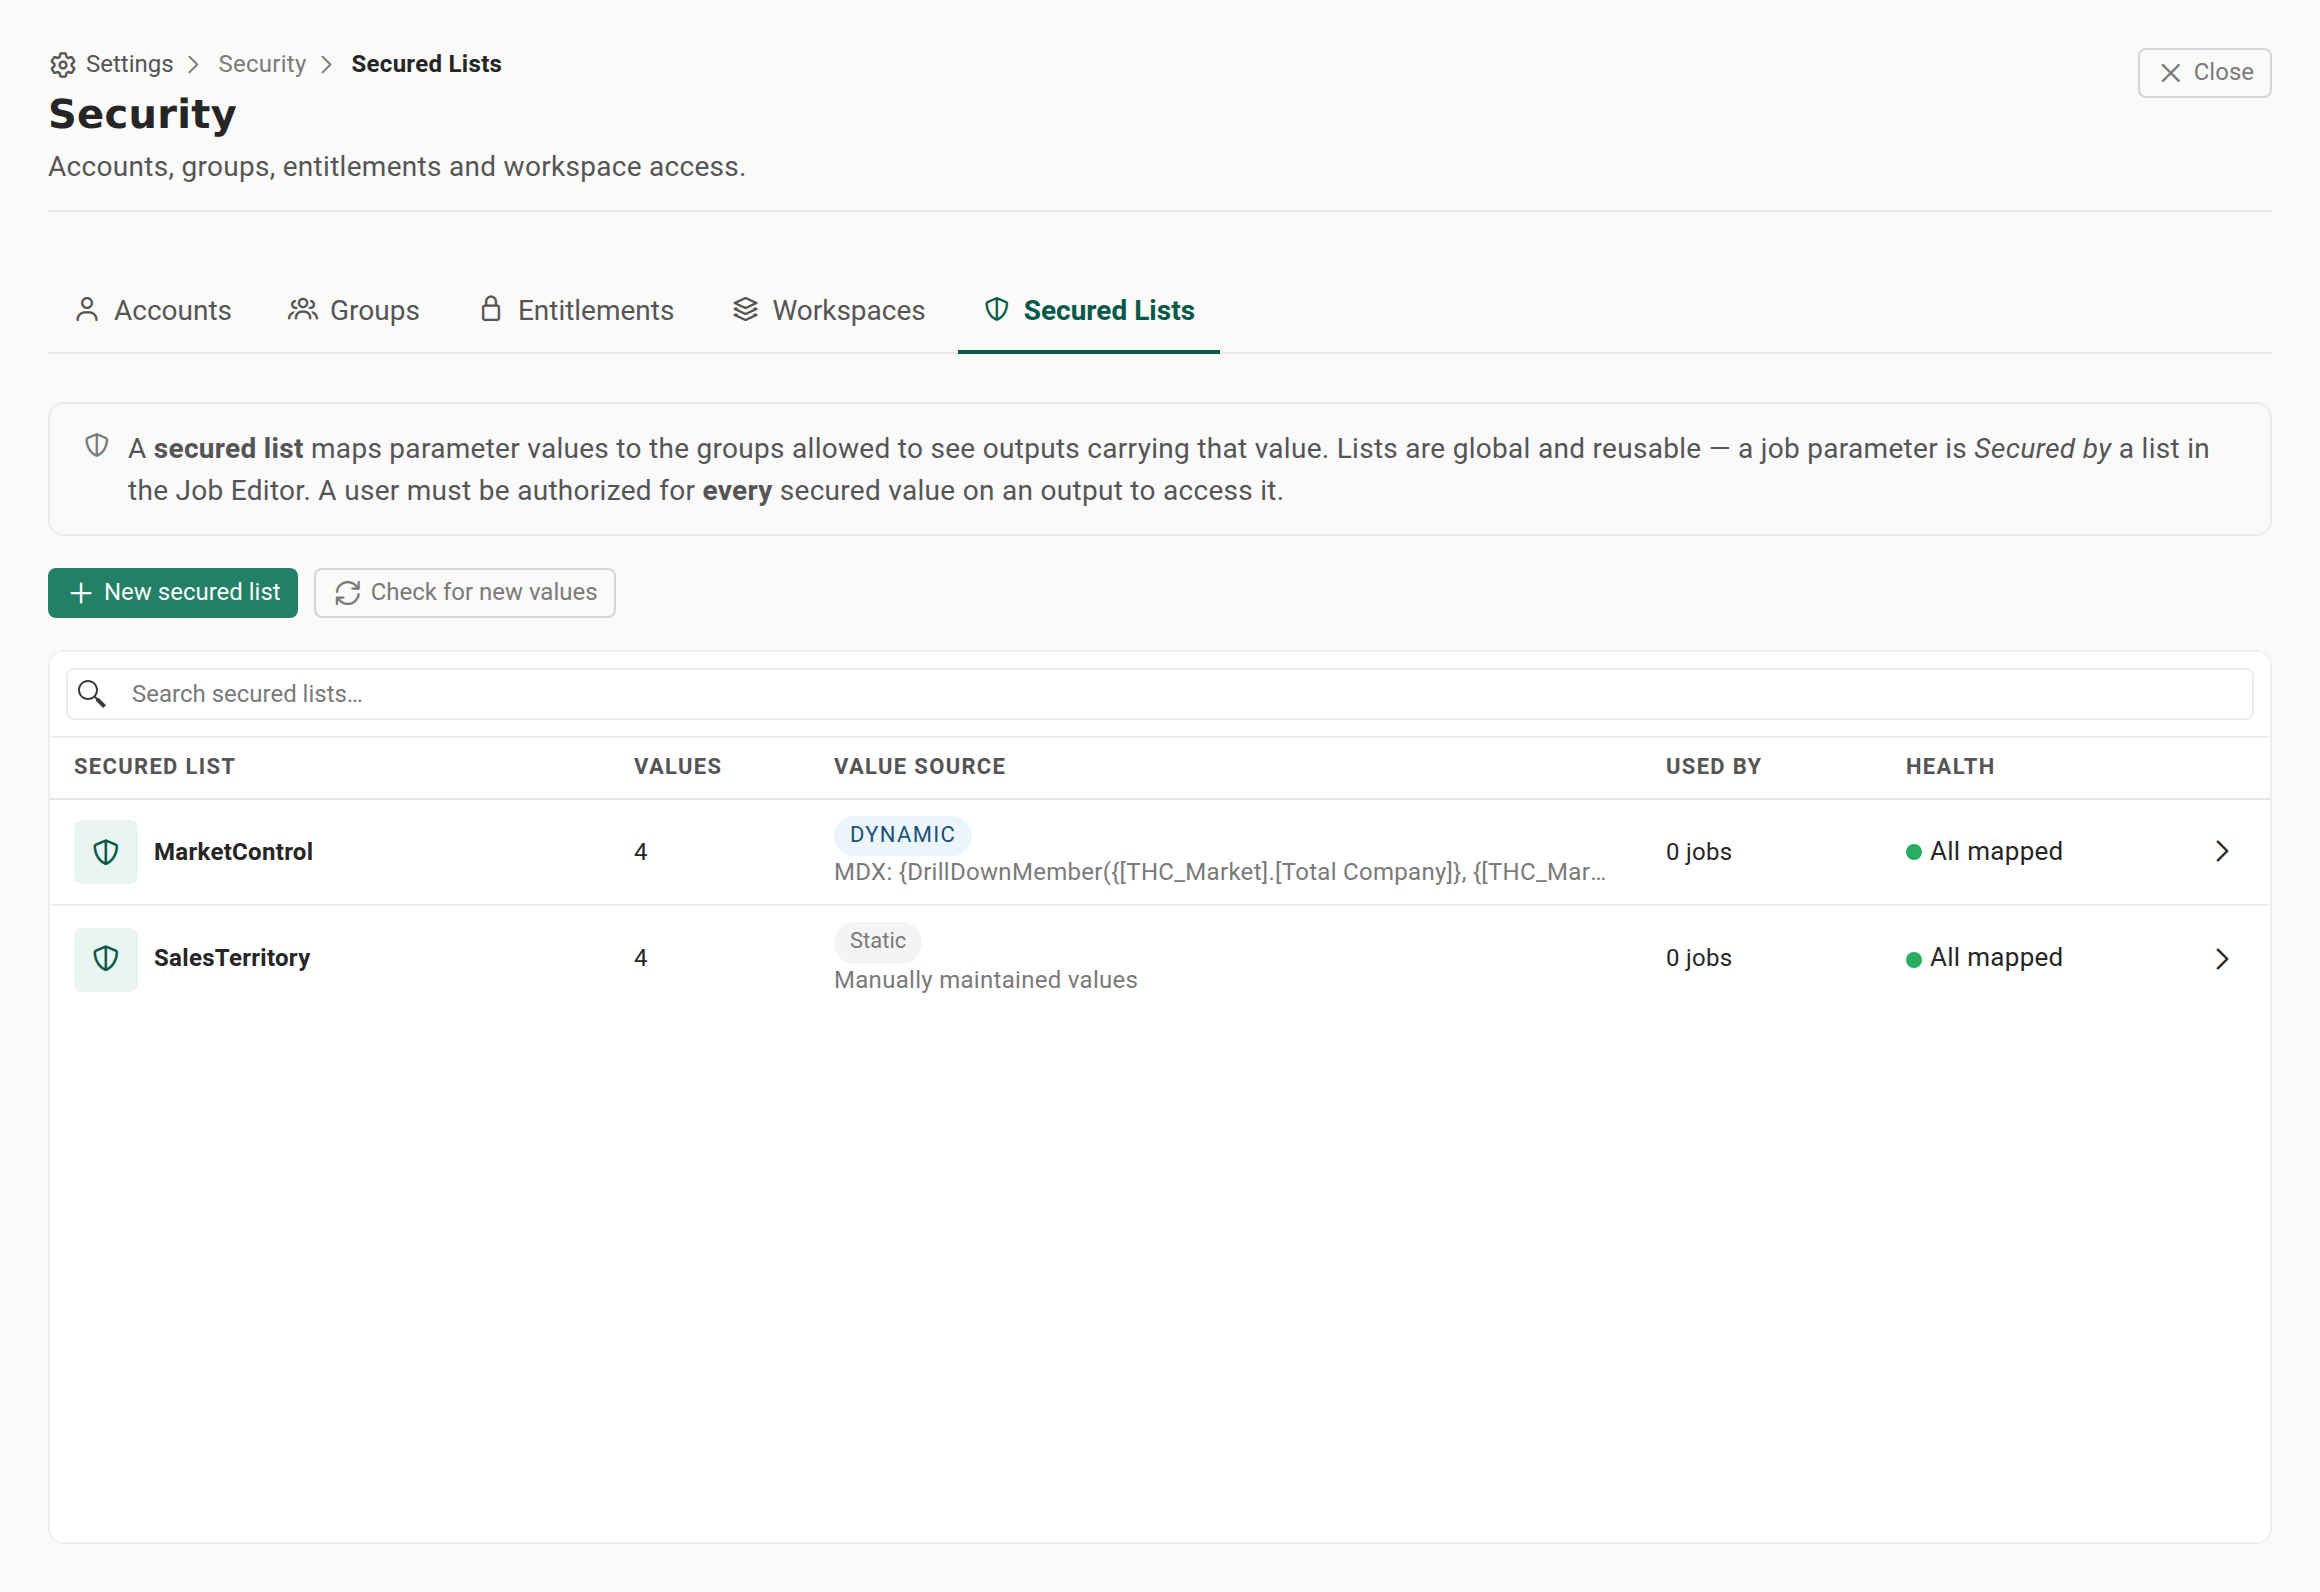
A secured list is a named mapping from a set of values to the security groups allowed to see the report outputs associated with each value. It is the mechanism that decides whether a User can see a bursted output: when a job is bursted on a secured parameter, each output is tagged with a value, and the secured list decides which groups, and therefore which Users, may open that output. Secured Lists is the fifth tab on the Settings ▸ Security screen, alongside Accounts, Groups, Entitlements, and Workspaces.
Secured lists are report-level, not row-level. A secured list controls whether a User can open a whole bursted output, not which rows a User sees inside a report. Adding a User to a group does not hide other rows, markets, or regions within a report the User is allowed to open: whoever can open a report sees all of its rows. To restrict what each audience sees, burst the report on the secured parameter so each audience gets its own output, then map those output values to groups here.
Secured lists apply to the User role only. Authors and Administrators see all output regardless of any secured list, and Recipients never sign in, they simply receive whatever a distribution delivers to them. Use secured lists to scope what signed-in Users can open, not to control who a distribution sends to.
When to use it. When governed data must be sliced by a dimension (region, cost center, entity) and each slice restricted to a specific group, so one report bursted on a secured parameter can be safely distributed to many audiences without any of them opening another's output.
Before you start#
- You need administrator rights.
- The security groups you will map values to must already exist. Create them first on the Groups tab. See Accounts, groups, and entitlements.
Create a secured list and map values to groups#
- Open Settings ▸ Security and select the Secured Lists tab. It shows a grid of existing lists, or an empty state reading "No secured lists yet."
- Select New and enter a name. Reportworq drills straight into the new list's detail. A new list defaults to Static.
- On the list detail, select Add value and enter a value, for example a region code. It appears as a row in the value-to-groups mapping table.
- For each value, map the security groups permitted to see the bursted output carrying that value.
- Use Rename to change the list name, or Delete to remove the list (a destructive confirmation appears). Use the header Close to go back to the grid.
Static and dynamic lists#
- A static list holds hand-entered values. Its detail shows Rename, Delete, and Add value, and does not show a Refresh control.
- A dynamic list discovers its values from a source rather than by typing. It shows a Refresh control to re-pull values, and the toolbar-level Check for new values scans for values that have appeared in the source but are not yet mapped.
Assign newly discovered values#
- When new dimension members appear in the source, for example new cost centers, select Check for new values on the Secured Lists toolbar.
- Assign each newly discovered value to the correct group before the next distribution, so no output ships with an unmapped value.
Notes and limits#
- Secured lists are report-level. They decide whether a User can open a whole bursted output. They do not hide individual rows within a report (whoever can open a report sees all of its rows), control item-level access to a report (that is workspace security), or set distribution recipients (that is contacts and the address book).
- Secured lists apply to the User role only. Authors and Administrators see all output; Recipients never sign in.
- Retire a value by deleting its mapping, or the whole list, when a slice is consolidated, so stale grants do not linger.
Going deeper. Secured lists complement, rather than replace, item-level access and burst fan-out. See Workspaces for workspace scope and Replicate output from your source system for value-driven fan-out.
Feedback on this page
Comments, questions, requests, or something missing or unclear? Email us - the page you are on is filled in for you.
Email feedback on this pageOr write to support@reportworq.com directly.