
Workspaces#
A Reportworq server can host multiple workspaces, separate content spaces that each have their own folder tree, items, data connections, and security scope. One sign-in moves between them, so a single server can segregate content by environment, business unit, or tenant.
When to use it. Whenever a deployment needs more than one isolated content space, for example a workspace specific to an organizational company or department. A single-workspace deployment needs none of this and shows no switcher.
Before you start#
- You need Administrator rights to create, rename, or delete a workspace and to grant access to one.
- Everything about a workspace is managed in one place, Settings ▸ Security on the Workspaces tab: the workspaces themselves, and who belongs to each one.
Looking for workspaces under Configuration ▸ Web Server? Workspace creation and deletion used to sit in the Configuration screen's Web Server tab. That category has been removed, and the whole workspace story now lives on Settings ▸ Security ▸ Workspaces.
Create, rename, or delete a workspace#
- Open Settings ▸ Security and select the Workspaces tab. The list shows one row per workspace, with the number of groups and accounts assigned to each.
- To add one, select New Workspace, enter a name, and confirm. The new workspace appears in the list.
- To rename one, select its row to open it, then select the title and enter the new name. The change is saved when you commit the title.
- To delete one, select its row and then select Delete Workspace. The confirmation states how many jobs and how many schedules the workspace holds, because deleting it makes all of that content inaccessible. Read the counts before you confirm.
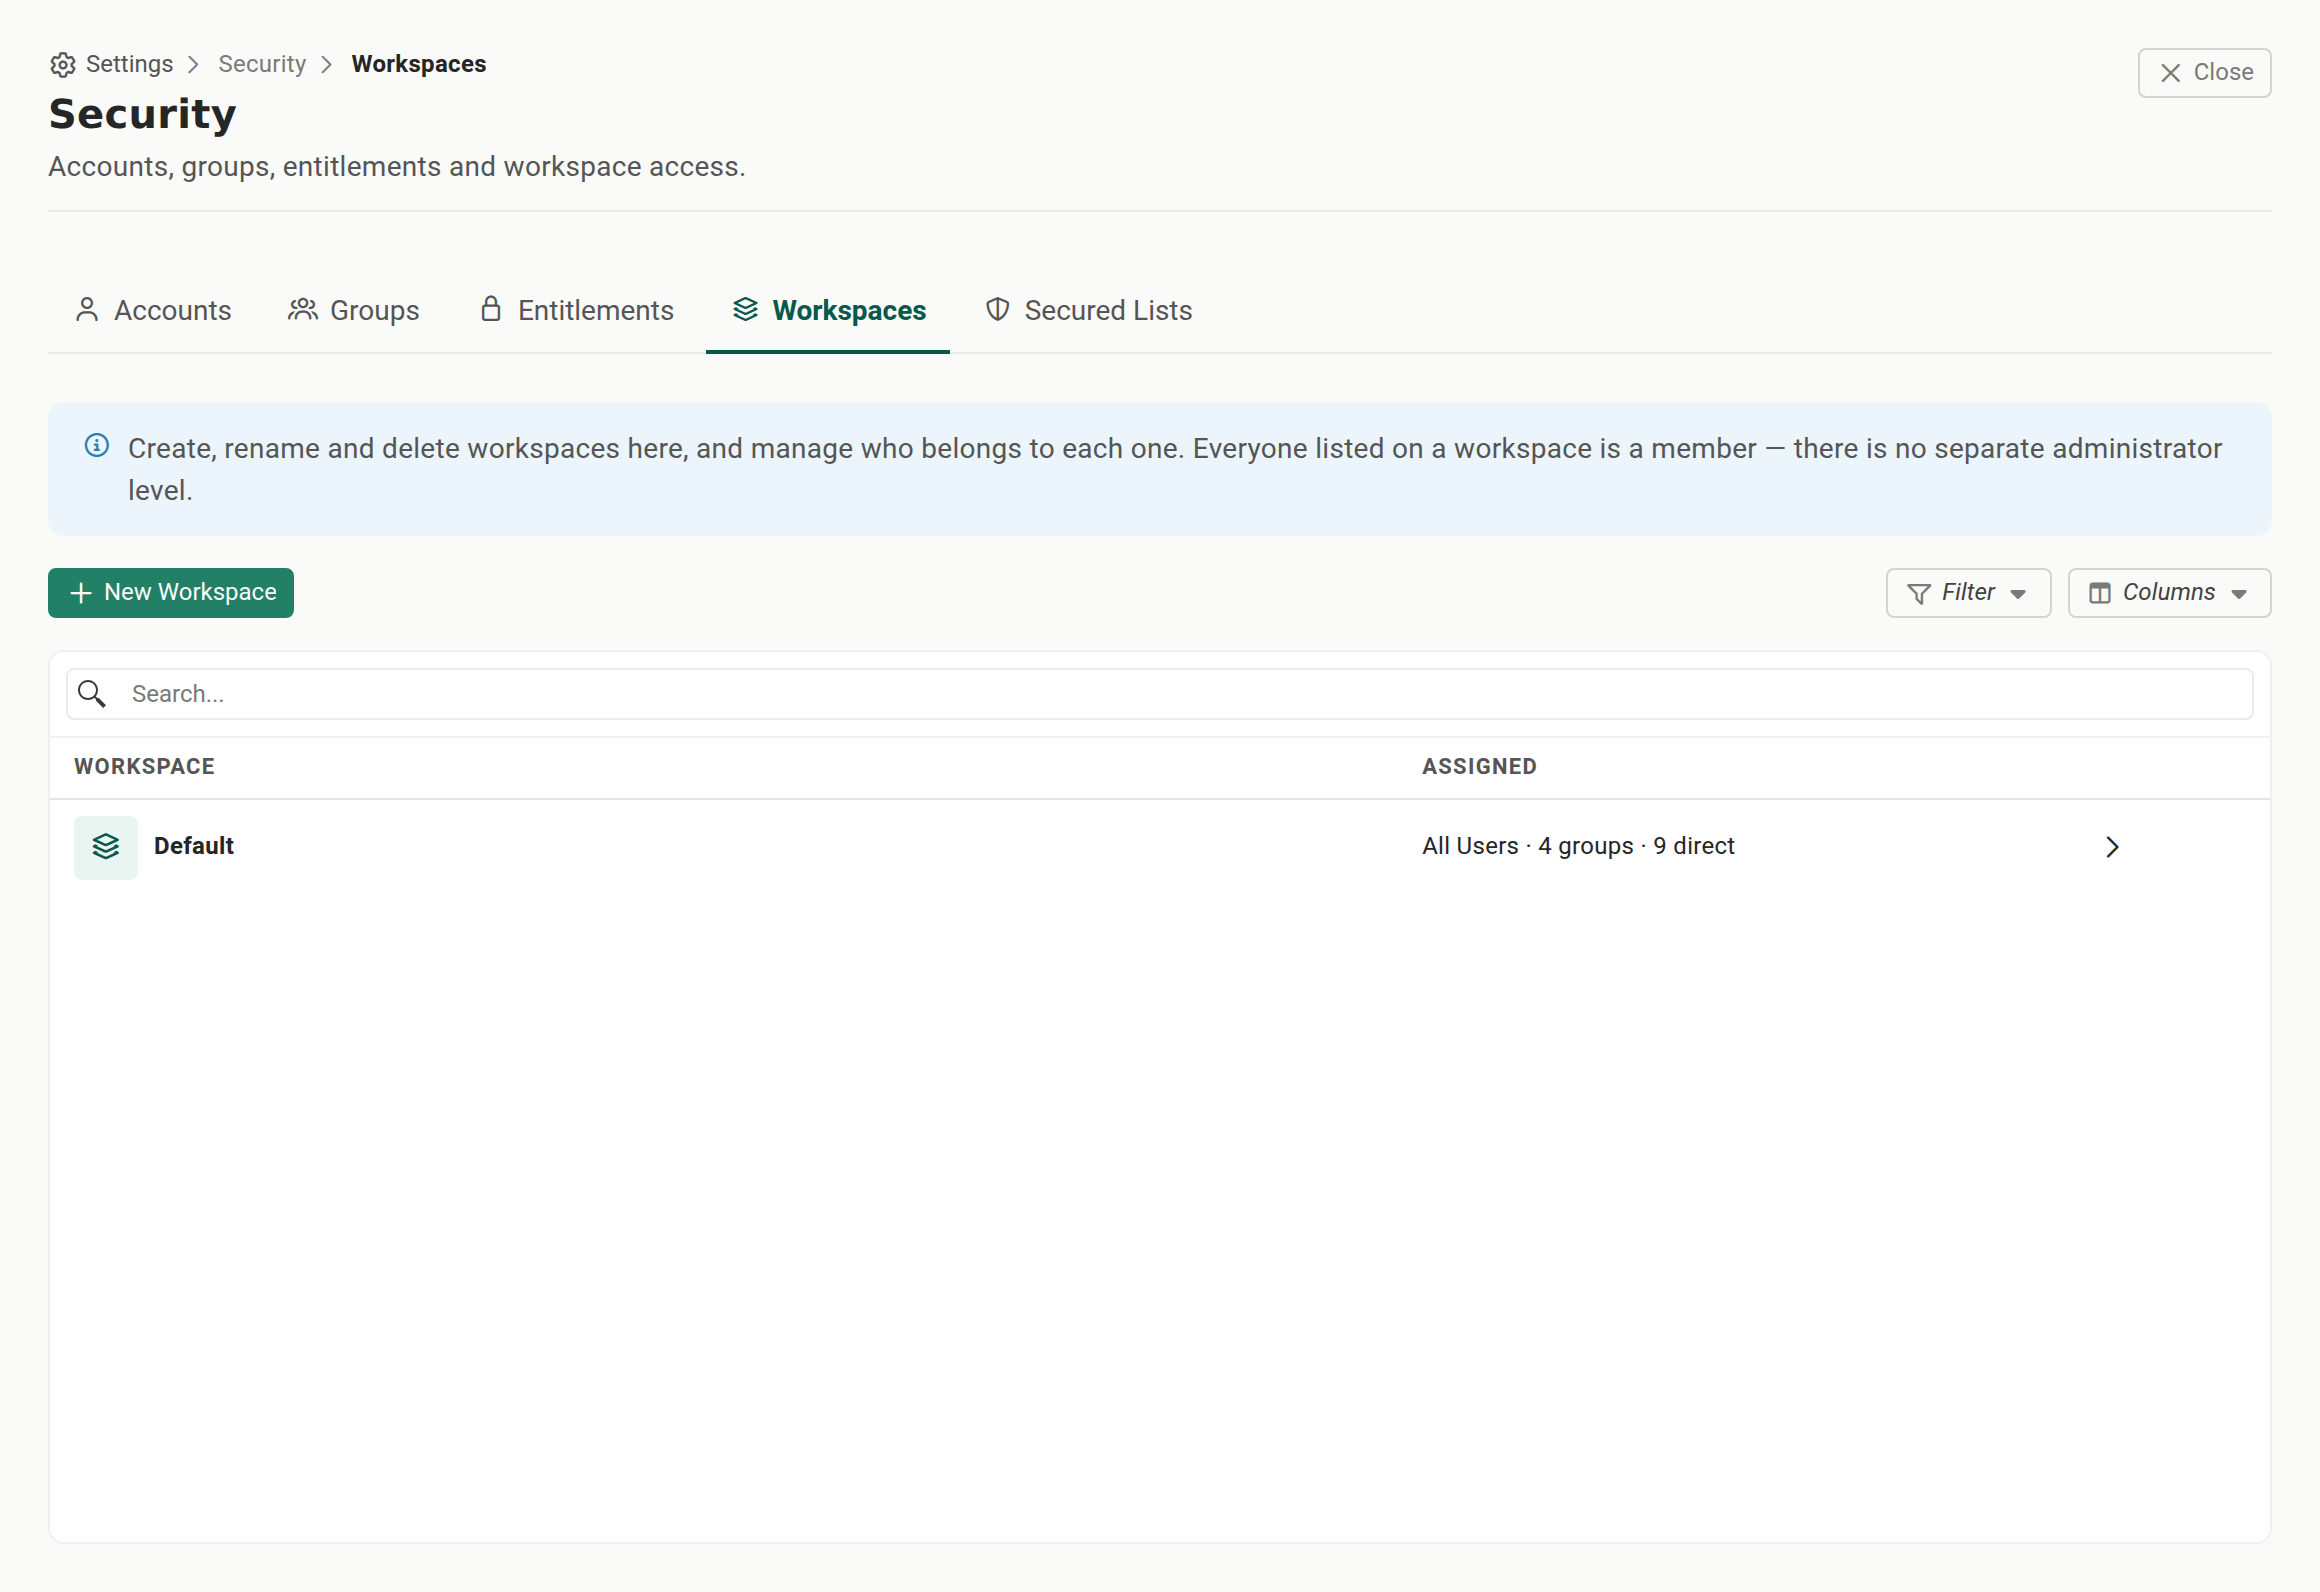
Manage who belongs to a workspace#
Everyone listed on a workspace is a member, and membership is the only level. A member can enter the workspace and reach its content, as their per-item permissions allow.
- On the Workspaces tab, select a workspace to open it.
- Assign the groups and accounts that need it. Turning on the All Users grant gives every enabled account access instead.
- To work from the other direction, open an account or a group and use its Workspaces Granted section. The two routes edit the same grant.
An account can be a member of several workspaces. Workspace membership is layered on top of the installation-wide role (Administrator, Author, or User), which does not vary by workspace.
An Administrator has full access to every workspace regardless of any grant, and sees the switcher as soon as a second workspace exists. The account editor says so directly: "Administrators have access to all workspaces."
There is no per-workspace administrator. A Configuration Access level, sometimes called Workspace Administrator, existed in earlier versions and has been removed. Settings, including datasource configuration, is now Administrator-only, with no limited or partial access. Workspace management cannot be delegated below the Administrator role.
How a user switches workspace#
A user with access to more than one workspace switches from the avatar menu in the app header, in the Switch-Workspace group. Selecting a workspace confirms with a dialog, then reloads into the target workspace, and the content browser and filters follow the new active workspace.
For an account with access to only one workspace, the Switch-Workspace group is absent, so the switcher only appears when it is relevant.
One active workspace per browser tab. A user works in a single active workspace per tab, and the switcher defaults to the last-accessed one. To work in two workspaces at once, open separate tabs or windows.
What is shared and what is per-workspace#
Some configuration is instance-wide, and some lives independently in each workspace:
| Shared across all workspaces | Unique per workspace |
|---|---|
| Authentication (the active provider plus accounts, groups, and entitlements) | Jobs |
| Server configuration | Contacts |
| Microsoft 365 integration | Global variables |
| Cloud API | Schedules |
| Distributor configuration | Datasources and report providers |
So an account and the authentication provider are set once for the server, while the reporting content and its data connections live independently in each workspace.
The shared job queue#
All workspaces share one execution queue, and other-workspace rows are redacted. The Running Jobs and Activity screen shows jobs from every workspace so you can see the whole queue. But you cannot expand, cancel, or even see the name of a job that belongs to a different workspace, those rows are redacted. To interact with such a job, switch to that job's origin workspace first.
Notes and limits#
- Single-workspace deployments have no switcher and need none.
- Workspace membership decides whether an account can enter a workspace. Which specific items inside it the account can see is governed by per-item access, and datasource configuration is Administrator-only. See Roles and what you can do.
- The Local REST API key is separate per workspace (the key selects the workspace), whereas the Cloud API uses one global key plus a
?workspace=selector.
Going deeper. The per-workspace roles you assign here reference the accounts and groups defined in Accounts, groups, and entitlements.
Feedback on this page
Comments, questions, requests, or something missing or unclear? Email us - the page you are on is filled in for you.
Email feedback on this pageOr write to support@reportworq.com directly.